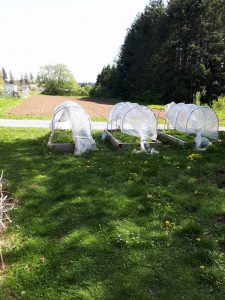
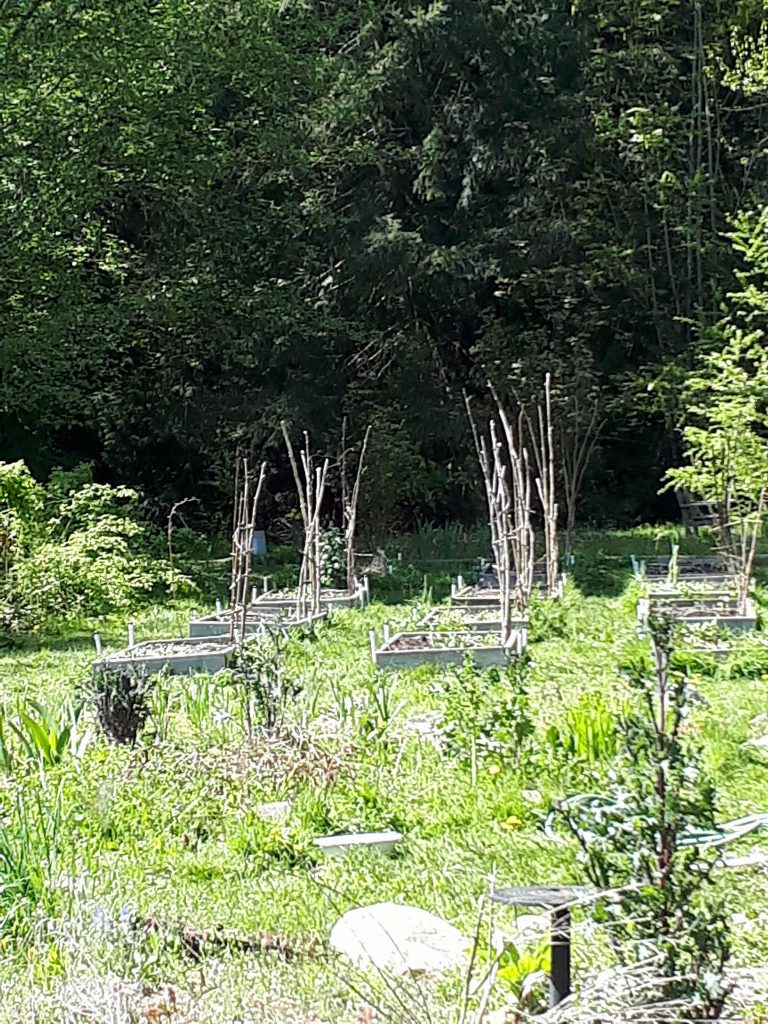
UBC teacher candidates participate in a 3-week Community Field Experience (CFE) with the Intergenerational Landed Learning Project. Inspired by their experiences in the children’s garden, they explore curriculum development in their own disciplines.
This post is by Nevena Ivankovic, a secondary teacher candidate in Earth Science and Geology.
Too much of the time in science classrooms students are provided with a lab that they already know the answer to and are really only practicing their skill of following instructions. Not only is this boring, but it is not really science. Science is all about exploring the unknown and creating a hypothesis and testing it out. This is why I think it is important to expose students to creating their own design labs. In the chemistry portion of the BC Science 10 curriculum, students are studying pH and acids and bases. Chemistry can often times seem abstract and separated from the real world which is why a design lab set in the garden is a great way to expose students to the skill of designing an experiment as well as connecting chemistry to the real world.
Students would have to consider the types of plants they are growing in their garden and the types of pH values those plants can survive it and the conditions they would thrive in. 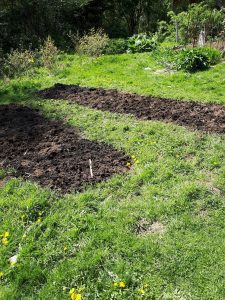 I would recommend leaving it open to the students as to what they would like to experiment, but suggest measuring the pH of the soil or water used to water the plants as an option. To differentiate lab, students could create something as simple as testing the pH of their soil sample, to something more advanced such as testing the pH of soil used by different plants or comparing it to the pH of compost.
To prepare for the design lab use the template provided. I recommend having students explore the garden brainstorm possible questions they would like to answer. Then have students complete the first section of the design lab template (up to step 8- create a graph), before they start any experimenting. Also make sure the students are aware of materials available to them (such as the type of pH testers available). Once they have prepared up to step 8, the students are ready to collect their samples and begin their experiment.
It would be inspiring to see how students would use the information they learned to extend this lab. For example, to consider why different farming methods were used to protect soil pH, or research how we are currently affecting changing the pH of the soil and how that affects the organisms that depend on that soil. Or if they extended their exploration to consider how soil pH might be different in different ecosystems and how that affects the type of plants that grow there. It would be wonderful if they could also use the information they have learned to further support their own garden and improve their plant growth.
Possible Template:
The Chemistry of the Garden
- Introduction: Explain the problem or question your experiment is trying to answer.
What are your variables?
| Variable | Things to consider | |
| Independent Variable:What ONE thing are you changing (manipulating) in the different groups | My independent variable is: | – How many trials? (How many times will the experiment be repeated)– How many groups? (the number of changes to the independent variable)– What are the groups? |
| Dependent Variable:What are you measuring? | My dependent variable is: | How will I measure this:– What will be recorded as data?– What are the units?
– What does this data tell me? |
| Control Variables:What conditions are you keeping the same for all the groups to ensure a fair comparison or a fair test. | My control variables are:(please list in bullet form) | – How will you control them?– What could happen if this variable was not controlled(how could it change your results?) |
- Hypothesis: This is your educated guess or prediction that you are testing.
- Materials: Make a detailed list of all the materials you need in bullet point form. Make sure to include ANY materials you will need for the experiment and include the amount or size you will need.
- Experimental set- up: Make a diagram or drawing of how you will setting up your experiment.
- Procedure: Write a step- by- step NUMBERED LIST of exactly what steps you will be taking to preform this experiment
Make sure to consider how many trials you will do, and any safety and ethical considerations as well.
- Data Collection:
Quantitative: Design a data table, which you will use to collect your experimental data (include your independent variable on the side and your dependent variable on top)
Qualitative: Take notes on what you observed happening during your experiment.
- Create a graph showing the results of your experiment. Use graph paper!
- Results: Summarize and interpret your data (use numbers from your data) and explain the results.
- Restate your hypothesis
- Discussion Question: Evaluate the validity of your procedure based on the outcome of your experiment.
- Discussion Question: Explain extensions you would make to your experiment. What other experiments can you suggest to investigate this problem?